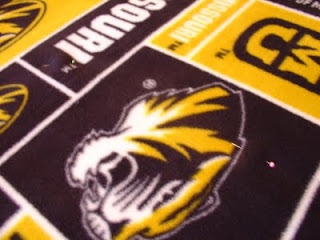
 Oh, this is probably not the time of year to show how to make a blanket, it's only 100 degrees and heat index of 107 here in KC, but this is also the time of year the fabric stores seem to run really good sales on fleece material. So first off, I'm going to show you possibly the worst picture I could take of the material I used. Ugh...I just hate when that happens. As you can see it is for the University of Missouri team. I made two of these, one for each daughter. The youngest one has season tickets for MU games this year and I thought she would like to have a nice, soft, warm blanket to take to the cold football games.
First you need to cut off the selvage edges, as you can see this had one that was over an inch wide!
 Do this with both pieces of material. Oh, I used 1 1/2 yards of each but I probably could have used 2 yards each, as it is just a tad too short for me, I'm 5' 7" tall.
 Than I laid the material out on my dining room table, wrong sides together, yes, what I'm going to tell you what I did, was probably alot harder than what I should have done, but this is the way my brain said it would work best. Than make sure everything is all even and straight, yes, I did have to cut more off around the sides and end to make it nice for sewing. Than I pinned around the whole middle of the blanket, to keep it from moving.
Now I didn't do what everyone else does when they make these, I didn't cut fringe and tie them, I seem to have issues with fringe, so I went a different route.
 Then I proceed to turn under both edges and pin it all the way around the blanket, heck what else do I have to do, right...lol!
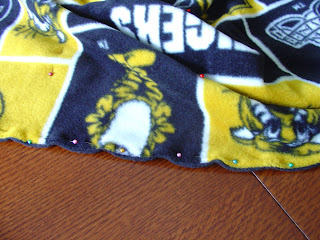 Next I sewed around the whole blanket. I'm always afraid that my seams will come apart, so I always check them, which was a very good thing I did, because I found a couple places that I didn't catch. So I proceed to put my machine on zig-zag and go around the whole blanket again! That time it did the trick! I also sewed in three different place from one side of the blanket to the other so that when it is washed it will stay together in the middle and not pull out.
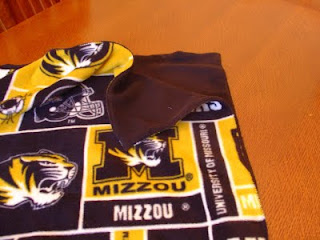 There it is all done and both girls were very happy to get them! Those fleece blankets are so warm....gee, I think I need to make myself one for this winter!
 Then I proceed to turn under both edges and pin it all the way around the blanket, heck what else do I have to do, right...lol!
 Next I sewed around the whole blanket. I'm always afraid that my seams will come apart, so I always check them, which was a very good thing I did, because I found a couple places that I didn't catch. So I proceed to put my machine on zig-zag and go around the whole blanket again! That time it did the trick! I also sewed in three different place from one side of the blanket to the other so that when it is washed it will stay together in the middle and not pull out.
  There it is all done and both girls were very happy to get them! Those fleece blankets are so warm....gee, I think I need to make myself one for this winter!
Now try and stay cool! Thanks for stopping in to see me and I enjoy any comments that you leave too! Have a crafty day................Mary


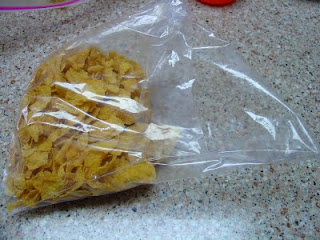
 Than right before you are ready to serve it, crush your


 After you measure your crushed cornflakes, set aside and melt more butter.......

 Now spread over your hash brown mixture......